New firearms testing capability
Cross’s testing division has recently received their Federal Firearms License (FFL) to go along with our ISO/IEC 17025 accreditation. We’re also a Special Occupational Taxpayer (SOT), meaning that we’re licensed to receive firearms. All this adds up to create a complete facility for firearms testing, to ensure your products are accurate, dependable and predictable.
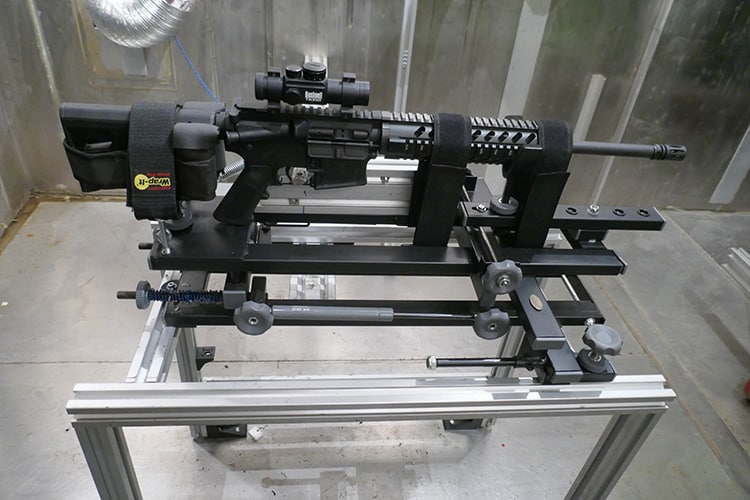
Our capabilities include:
- Live fire capabilities: Unlike many test facilities, Cross Company has the ability to fire weapons within our environmental chambers to get a more accurate simulation of the conditions the firearm will be performing under.
- A wide variety of tests: We can perform climate testing, rain or precipitation testing, solar testing, mud testing, vibration testing, corrosion testing and more.
- Customizable tests: We can also create a custom test for you which combines any of the above capabilities for the most lifelike simulation of your product.
- Induced environmental testing: Within our climate testing chambers, we can induce rain or snow to test performance and durability in different conditions. And we’re able to perform these tests while firing for additional data on performance and quality.
- Custom test protocol development and fixture design: Not quite sure what you need to test or how to hold your weapon during testing? Our testing engineers can help develop a custom test plan and/or fixturing to fit your particular requirements.
What is the thermal coefficient of expansion and why does it matter?
If you use high precision dimensional gages, having them calibrated in a temperature controlled lab is critical. Check out this video in which Dan Blount from our quality team explains what the thermal coefficient of expansion is and why it is so important to consider when calibrating precision instruments.
Need to get more out of your old CMM? Upgrade it!
The structure of a coordinate measuring machine (CMM) is built to measure for 20 years or more. But unfortunately, the control systems, electronics and software aren’t so long lasting. Not only will they need more and more maintenance and support but they can quickly become outdated as new technology is developed.
CMMs are also expensive pieces of capital equipment to replace which can be hard to justify. Not to mention the hassle of moving an old one out and the new one in! Fortunately, Cross Precision Measurement can help. For any brand of CMM, keep your existing hardware but upgrade to state-of-the-art electronics and control systems.
What's New at Cross
Optimizing your compressed air system can save on energy costs
An optimized compressed air system can mean substantial reductions in overall energy consumption, with industrial facilities saving 20-50% on average on their electric bill over 24 months. We recommend Parker’s Transair aluminum compressed air piping system to try and achieve these savings in your own facility. Read some of the key advantages of the Parker Transair System here.
Did You Know?
Need help with parts inspection? Consider Cross's on-site inspection
We see it all the time: customers who have more parts to be inspected than resources to perform the inspection. Whether you’re short a person or don’t have enough equipment to use, that growing backlog can be stressful and costly. Cross’s on-site inspection capability can help. We bring our own portable CMM to your facility at a time convenient for you and stay as long as you need us. We can also help with first article inspections (FAI), 3D scanning, fixture certification and more.
Cross Provides Tangible Value for You
Improve Efficiency
Did you know you can pair a collaborative robot with a video measurement machine or CMM to automate your inspection process? With a relatively quick ROI period, the Cross robotic machine tending solution frees up the quality team to do more productive tasks or tasks that may not lend themselves to automation. This leads to an increase in worker productivity, retention, and safety. It also increases your productivity, which improves your bottom line.
Contact our automation team to learn more about machine tending for quality inspection!
Improve Efficiency
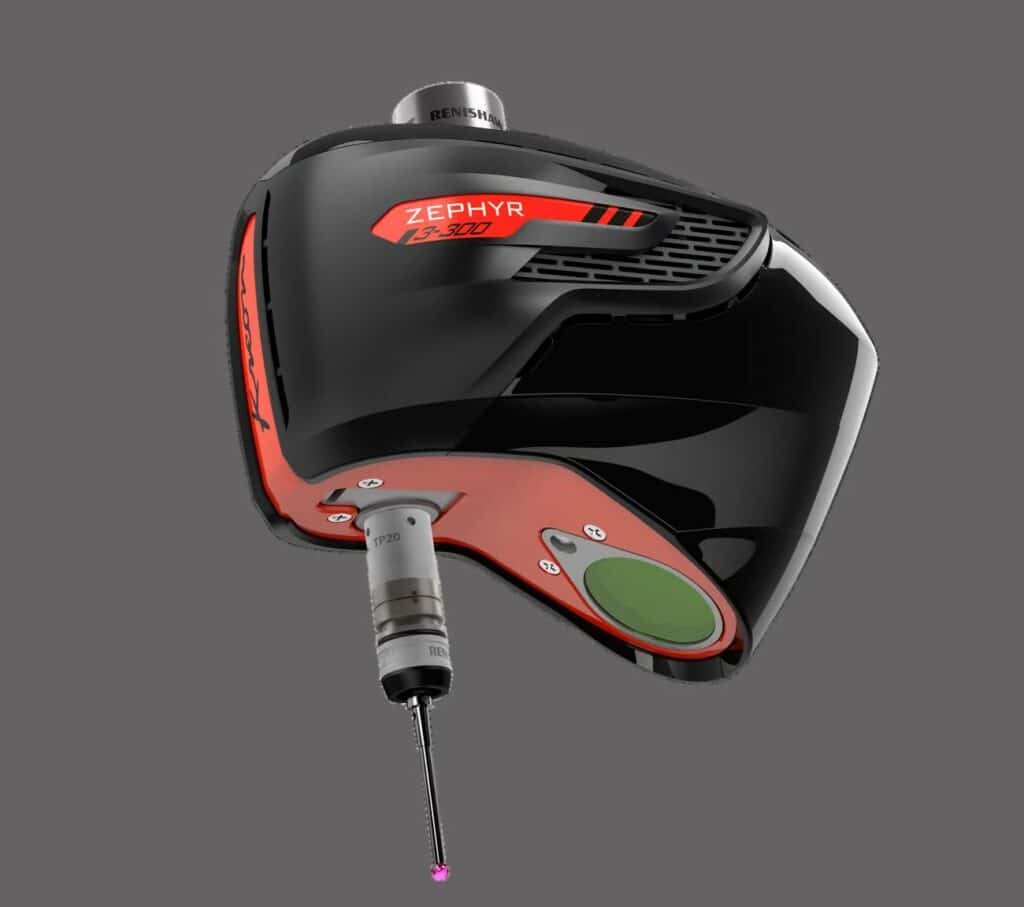
Kreon’s Zephyr III 300 is a groundbreaking addition to its 3D scanning technology lineup. With a wide 300mm laser line, this new scanner accelerates scanning speed by twofold, resulting in a 50% reduction in the number of passes required for the same part, especially advantageous for inspecting large-scale components. Tailored for large-scale measuring machines, the Zephyr III 300 seamlessly integrates with automation features like the ACR3 auto-change rack and motorized PH10 indexing head. Compatible with Kreon Ace and Onyx measuring arms, it offers versatility and is suitable for various techniques, making it an ideal tool for 3D inspection and reverse engineering on large-scale parts.
Raise Quality
Need someone to train your team to use a Faro portable CMM or dimensional equipment software? Contact the inspection team at Cross. Our inspection experts work with Faro arms daily and would be glad to train your team on the basics of using them.
But knowing how to use dimensional measurement equipment only gets you so far. To get the most data, you need to be an expert in the software running it. Cross can train on Polyworks, Calypso, Zone 3, CMM Manager, PC and Touch DMIS and more.

