Metrology Glossary: Height Gauge
What Is A Height Gauge?
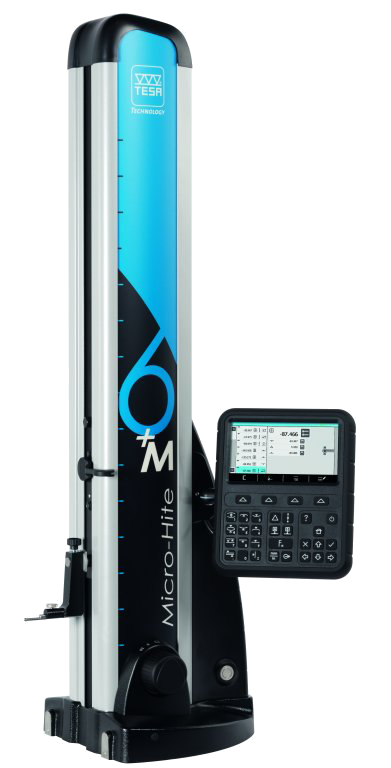
A height gauge is a precision instrument used for measuring the vertical dimension of objects. Typically, it comprises a sturdy base, a vertical column, and a movable head. The movable head is equipped with a scribing tool or another measuring implement. When using a height gauge, the base is positioned on a level surface, and the movable head is adjusted to align the scribing tool at the desired elevation. The scribing tool is used to make markings on the object or workpiece. Height gauges can also be used to measure the separation between two points on an object.
What Are Height Gauges Used For?
Height gauges stand as versatile measuring tools with widespread applications across diverse industries, excelling in precise vertical dimension measurements. They are used for measuring heights by determining the vertical distance from a reference plane to specific features on an object, scribing markings with accuracy for subsequent machining or assembly operations, and gauging depth and thickness of holes, slots, or recesses. Height gauges also contribute to quality control inspections, ensuring components meet specified dimensions and tolerances, while verifying flatness and checking perpendicularity of surfaces. Additionally, they play a crucial role in measuring center distances between holes or features, determining angles with precision, and marking exact locations for machining or forming operations in toolmaking and die making processes. In the inspection of precision components, especially in industries like aerospace, automotive, and electronics, height gauges guarantee the accuracy of critical elements, establishing their significance in maintaining quality and precision across various manufacturing contexts.


